Oh {wo}man this was a difficult project! I'm really happy with the way it turned out however it was a beast to complete. As always I started with an
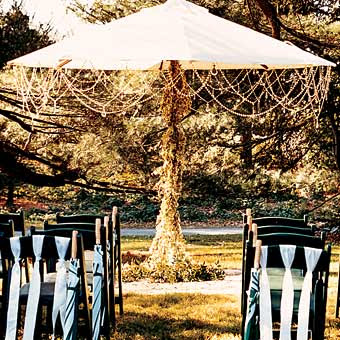
inspiration photo...
Cute right? I was determined to use all upcycled fabric for the garland, so I set off to clean out my closets and craft supplies. I even asked a friend for any of her daughters clothes she was planning to donate because I knew they would have cute patterns. And in a last ditch effort not to buy new fabric, I stopped by a couple of thrift stores. Here's a pic of my fabric collection for the project.
Look at those thrift store prices for the
fat quarters!
With the inspiration photo in hand I estimated the size of the muslin square (2.5"x 2.5"). I also noticed some squares held two hearts so I doubled the length for those. After that I created a heart shaped template with cardstock paper, traced the template onto my fabric and cut out my hearts.
In the first assembly attempt I thought I could cut corners by sewing straight down the middle of the heart or vertically down the square.
The single stitch plan didn't work very well; it was just too clumsy. So I decided to sew all of the muslin squares on first as you see below and then go back to sew the hearts on.
In the end there are 2 stitches on each square, one vertical and one horizontal.
And here's the final product! It took about 6 hours to complete this one strand and I hope to finish another to hang above this one.
Lessons learned:
- Muslin is not the best option for the base square. The weave of the fabric is too loose and the stringies were driving me nuts!
- Quilting fabric worked best for the hearts. The fabric from the upcyled cotton t-shirts wasn't stiff enough and those hearts tend to flop over.
- Use a much thicker string than I did. The crochet yarn I used kept twisting after the garland was assembled and it was a real pain.


